Step 5
- Dump the beaten paper fibers from the blender into a pail or
large bowl and repeat Step 3 until you have the amount of pulp you
need for your project. (We added a sheet of cranberry-colored
paper to the blender to give our paper the color you see in the
pictures).
|
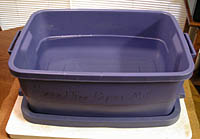 |
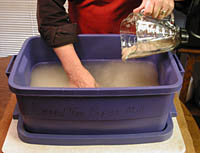
Step 6
- Fill the vat half full with water (if you want to add sizing to
the water, which will allow you to write on the paper you make,
add a couple of tablespoons of liquid starch to the water and stir
thoroughly). Now add pulp from your stock supply, until you have
enough to create a good sheet (three or four cups of pulp
dispersed in the water). The more pulp you add to the water, the
thicker the final sheet.
|
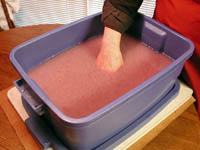 |
Step 7
- Mix the pulp in the vat with your hands or a kitchen whip until
it is dispersed evenly (this mixture is called a
"slurry").
|
 |
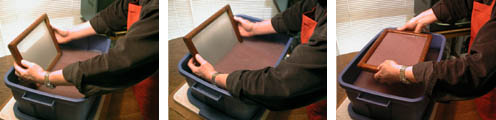
Step
8
- Wet the mold and deckle. Then, holding the deckle on top of the
mold (in contact with the screen side), reach toward the back of
the vat and, in one continuous motion, pull the mold and deckle
under the surface and up again, catching an even layer of pulp on
the surface of the mold.
|
|
